DIY Projects & Crafts with Fasteners
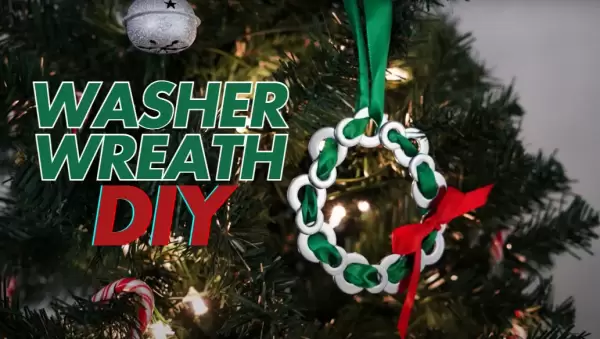
Washer Wreath Ornament
Watch How It's Made
Printable Instructions
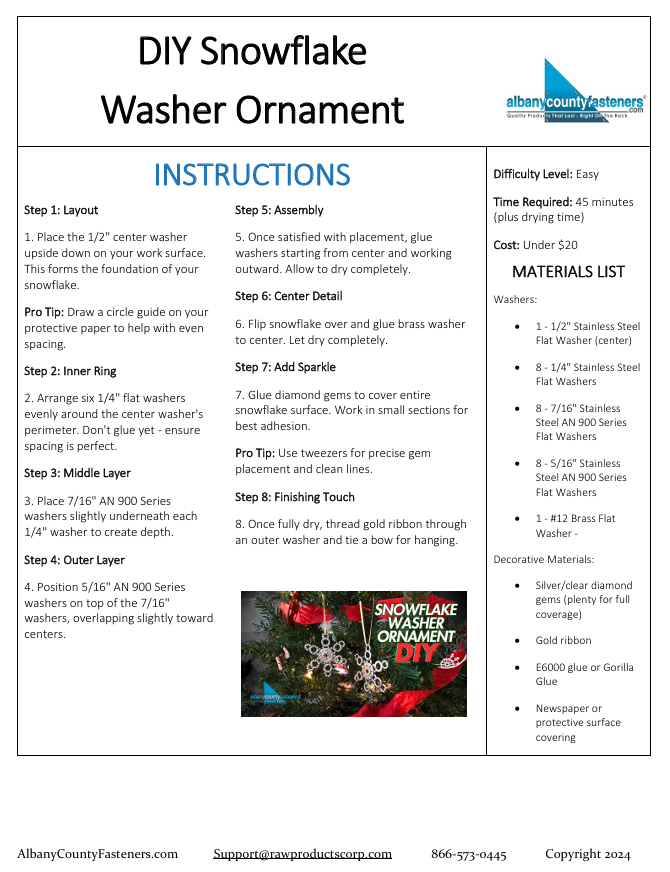
Download PDF
DIY Washer Wreath Ornament
Safety First!
- Adult supervision required for glue application
- Keep small parts away from children under 3
- Work in a well-ventilated area when using strong adhesives
- Wear gloves when handling adhesives
Materials Needed
Hardware:
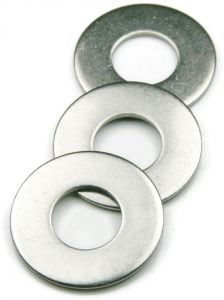
- 3/8" 304 stainless steel flat washers (larger size)
- 1/4" 304 stainless steel flat washers (smaller size)
Additional Materials:
- 3/8" red satin ribbon
- 5/8" green satin ribbon
- Gorilla brand clear glue pen
Step-by-Step Instructions
Step 1: Arrange Washers
Arrange large washers in a circle with space between them to overlap small washers. Adjust spacing until you achieve your desired wreath shape.
Step 2: Bond Washers
Apply glue to bond washers together in your arranged pattern. Allow to dry completely.
Step 3: Weave Ribbon
Once fully bonded, weave green ribbon through washer holes in a looping pattern. Leave enough ribbon at the ends to form a hanging loop.
Step 4: Secure Ribbon
Tie ribbon ends tightly together. Trim excess ribbon if desired.
Step 5: Add Decorative Touches
Embellish with red ribbon bows for extra holiday charm!
Creative Variations
Size Variations: Experiment with different washer sizes for unique looks
Ribbon Options: Try different ribbon widths and patterns
Display Ideas: Perfect for trees, doors, walls, or as package decorations
Embellishments: Add small bells, holly berrires, or minature ornaments