DIY Projects & Crafts with Fasteners
DIY Hardware Snow Globe Ornament
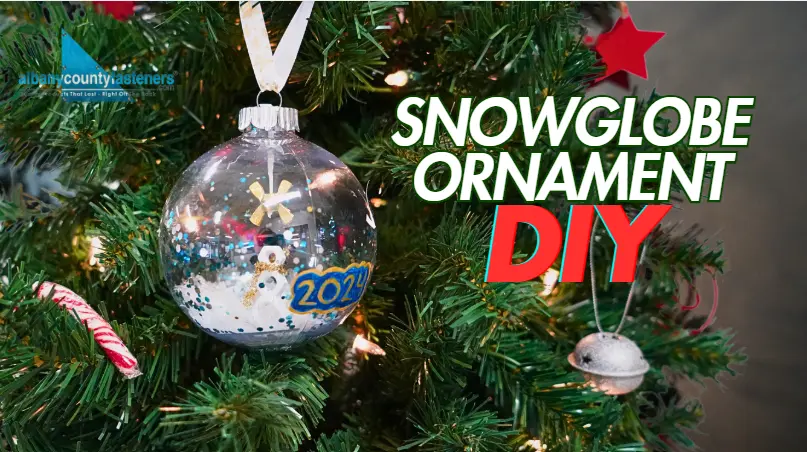
Watch How It's Made
Printable Instructions
Safety First!
- Adult supervision required for using glue and adhesives
- Keep small parts away from children under 3
- Work in a well-ventilated area
- Wear gloves when handling glue
Materials Needed
Hardware:
- 1 - 1/4-20 Aluminum Hex Nut (snowman head)
- 1 - 5/16-18 Aluminum Hex Nut (snowman middle)
- 2 - 3/8-16 Aluminum Hex Nuts (snowman bottom & base)
- 2 - 6/32 Brass Wing Nuts (for star)
Ornament & Decorative Materials:
- Clear plastic DIY ornament with 1" opening
- Fake snow
- Blue glitter
- Gold ribbon (for scarf)
- White ribbon (3/16" for star)
- Additional ribbon for hanging
Tools & Supplies:
- White acrylic paint
- Paintbrush
- E6000 glue
- Long tweezers
Step-by-Step Instructions
Step 1: Create
the Snowman
Stack and glue hex nuts in size order (1/4-20, 5/16-18, 3/8-16) to form your snowman. Let dry completely.
Pro Tip: Align the flat sides of the hex nuts for a more uniform look
Step 2: Add the Base
Glue the second 3/8-16 hex nut under the snowman as a base. This elevates the snowman inside the globe.
Step 3: Paint
Paint the entire snowman assembly white. Apply multiple thin coats for best coverage.
Step 4: Add the Scarf
Once paint is dry, tie the gold ribbon around the snowman's "neck" to create a festive scarf.
Step 5: Create the Star
- Cut a 6-inch piece of white ribbon
- Thread ribbon through both wing nuts, facing opposite directions
- Tie a knot at the bottom to secure wing nuts
- Add small amount of glue between wing nuts
- Let dry completely
Step 6: Assemble the Globe
- Apply glue to bottom of base nut
- Using tweezers, carefully place snowman in center of ornament
- Thread star's ribbon through ornament top
- Position star above snowman
- Secure with knot
Step 7: Add Snow Effects
Add fake snow and blue glitter around the snowman. Secure ornament top.
Step 8: Finishing Touch
Add hanging ribbon to ornament top
Creative Variations
- Snow Globe Effects:
- Mix different types of glitter for depth
- Add tiny silver stars
- Use iridescent snow for extra sparkle
- Try colored snow for unique effects
- Snowman Accessories:
- Add tiny painted details
- Try different ribbon colors for scarf
- Create a metallic finish snowman
- Add glitter to the white paint
- Star Variations:
- Paint the wing nuts gold
- Add glitter to the star
- Use metallic ribbon
- Create multiple smaller stars
Pro Tips:
- Test ornament closure before adding snow and glitter
- Use minimal glue to avoid visible residue
- Keep snow and glitter away from glue areas
- Practice snowman placement before applying glue
- Create assembly line if making multiple globes